Install Cucumber Eclipse Plug-in
- Launch Eclipse IDE and select “Help” Menu > “Install New Software” option
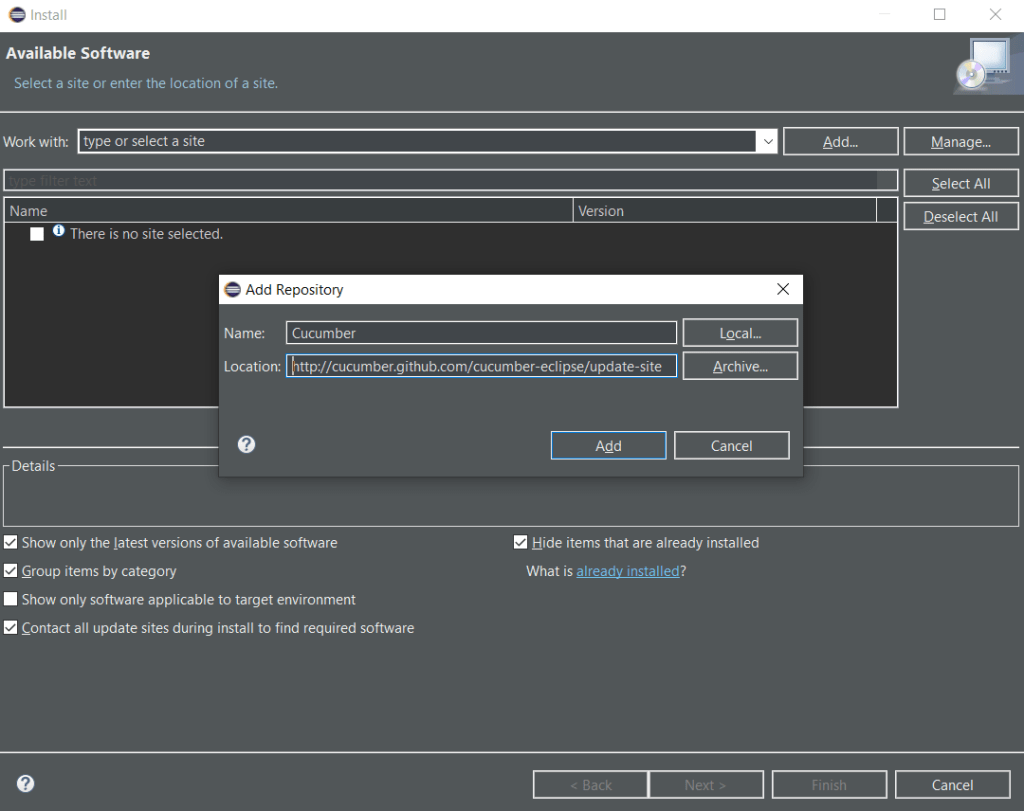
- Click on “Add” button and provide Name as “Cucumber” and Location as “http://cucumber.github.com/cucumber-eclipse/update-site“
- Select to install the “Cucumber Eclipse Plugin”

Create Maven Project and Configure with Cucumber & Selenium
- Create a new Maven Project by Right clicking on the Package Explorer and selecting “New” > “Other”
- Filter Maven and select ‘Maven Project’ option

- Select “Create a simple project” option
- Provide the artifact ID as Project Name (e.g. “”CucumberPro”) and Group ID as Package name (e.g. “cbPack”)
- Search for “Cucumber Maven Dependency” in google and click on the link https://mvnrepository.com/artifact/info.cukes which got appeared in our Search Results
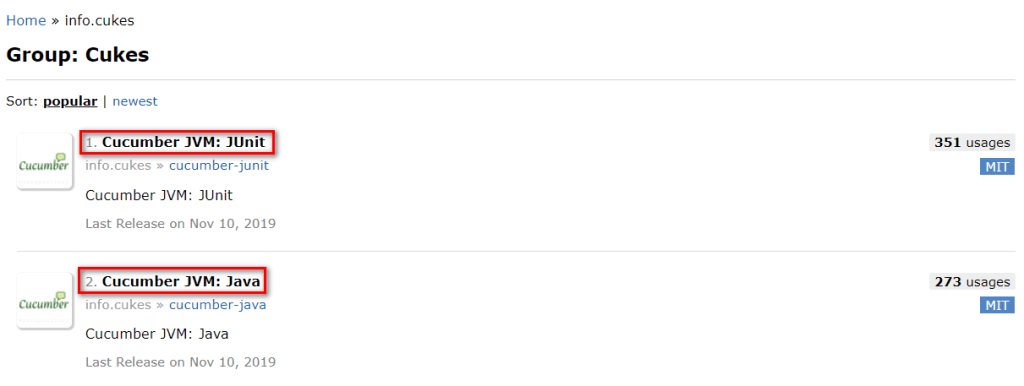
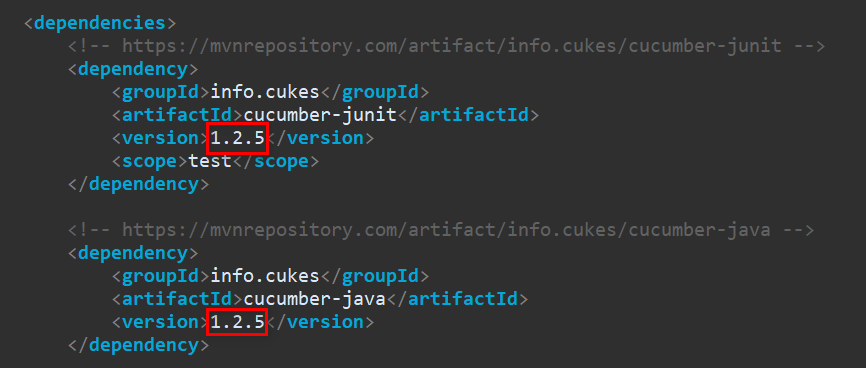
- Copy the dependency tags for latest versions of both Cucumber JVM: JUnit and Cucumber JVM : Java in between the dependencies tags of pom.xml file and save the Project. Make sure both dependencies versions are same.
- Search for “JUnit Maven Dependency” on Google and click on the link https://mvnrepository.com/artifact/junit/junit which got appeared in our Search Results
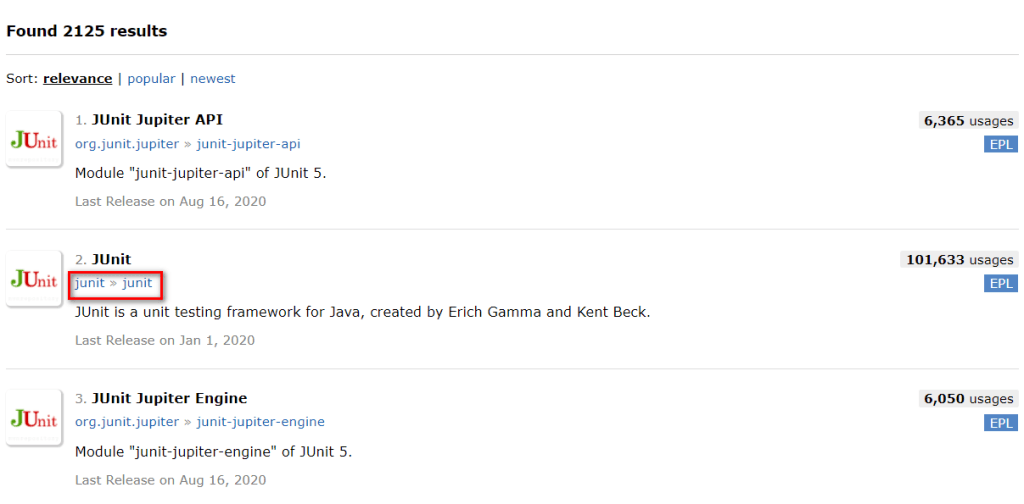
- Copy the dependency tag for latest version of JUnit in between the dependencies tags of pom.xml file and save the Project
- Search for “Selenium Maven Dependency” on Google and click on the link https://mvnrepository.com/artifact/org.seleniumhq.selenium which got appeared in our Search Results

- Copy the dependency tags for latest of Selenium Java in between the dependencies tags of pom.xml file and save the Project
- Make the project ready for execution in different browsers by downloading and pasting the required drivers under ‘drivers’ folder of the project

